
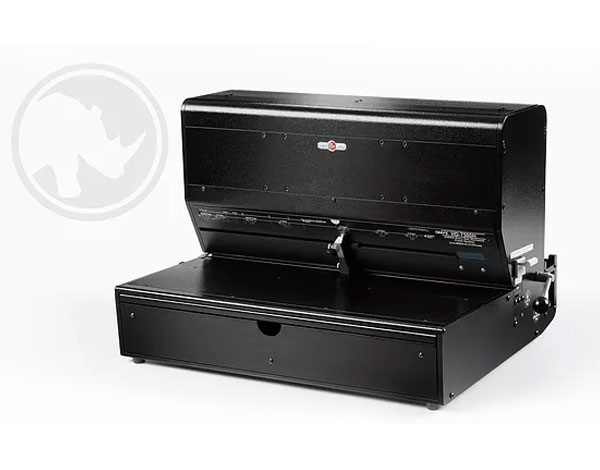
Document binding has improved considerably in the last few years due to the development of a variety of new binding machines that utilize wire or plastic to accomplish their task.
These machines are also becoming more advanced and more efficient which means that you can make bindings for a variety of documents and books swiftly, whether you're a binder for books or you simply require document binding to present your presentation. For perfect binding, you can also buy aluminum binding coils through pelspiral.com/product-category/binding-products.
Here are some tips to help you begin using coil binding. Make sure that your documents, books or other presentation documents are well held and secured.
The first step is to select the proper size of your coil component. Do not use a size that is too small to fit the requirements you are trying to tie. There are a variety of different coil sizes available, such as 5:1, 4:1, as well as 6:1.
As you begin using your machine, be sure to check a forming channel for the spine to help to create contours that can be helpful when inserting your spiral. The actual binding should spin on at the minimum of 1". After you've completed the binding, keep it near to the rollers' rubber and apply light pressure to the coil against the rollers.
After the coil has been placed on the book or document you must cut and crimp every extra element using some cut and crimp tools to complete the task.
